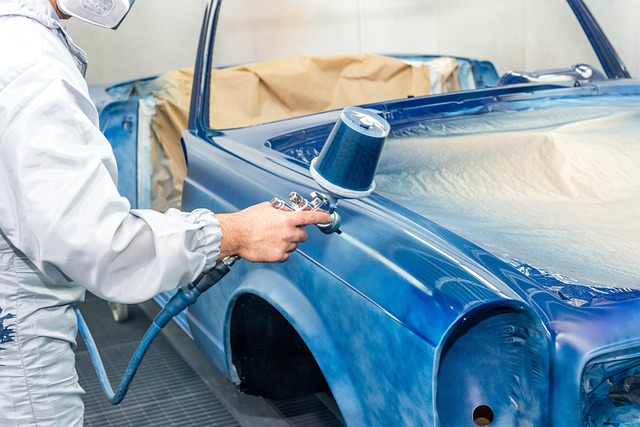


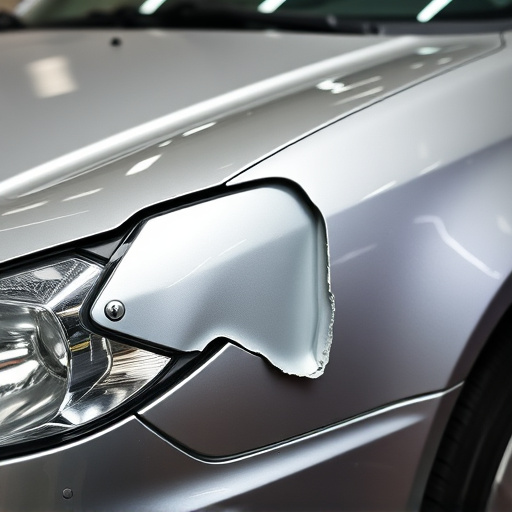
Tesla's vegan leather interiors for Model S, 3, X, and Y balance sustainability with wear issues. Proper care and repair using specific tools and materials can extend seating life and maintain aesthetics. DIY Tesla vegan leather repair involves cleaning, marking damage, patching, trimming, and coating for seamless integration.
“Elevate your Tesla experience with our comprehensive guide to repairing its vegan leather interiors. Tesla’s innovative use of vegan leather in models S, 3, X, and Y brings sustainability to luxury, but like any material, it can show signs of wear. This article equips you with the knowledge to address common issues.
From understanding the unique characteristics of Tesla’s vegan leather to gathering the essential tools and materials, we’ll walk you through effective repair techniques. By following our step-by-step guide, you’ll learn how to restore your Model S, 3, X, or Y’s interior to its original condition.”
- Understanding Tesla's Vegan Leather Quality and Common Issues
- Tools and Materials for Effective Repair Techniques
- Step-by-Step Guide to Restoring Your Model S, 3, X, Y Interior
Understanding Tesla's Vegan Leather Quality and Common Issues
Tesla’s decision to use vegan leather in their Model S, 3, X, and Y interiors has been a topic of interest for both enthusiasts and critics. This choice aligns with Tesla’s commitment to sustainability and ethical practices, as traditional leather tanning processes involve controversial techniques that harm animals. However, while vegan leather offers an environmentally conscious alternative, it is not immune to wear and tear. Over time, owners may notice minor tears, scuffs, or discolouration, especially in high-use areas like door panels and seats. These issues can be attributed to factors such as exposure to heat, moisture, and friction, which can degrade the material’s elasticity and strength.
Understanding these common problems is essential when considering Tesla vegan leather repair. The good news is that with proper care and expert restoration techniques, many of these defects can be rectified, ensuring your vehicle’s interior looks as good as new. Vehicle restoration specialists employ various methods, from careful stitching and patching to complete re-upholstering, depending on the extent of the damage. This process not only enhances the aesthetic appeal but also prolongs the life of the seating, making it a practical solution for owners seeking to maintain their Tesla’s refined and sustainable interior design.
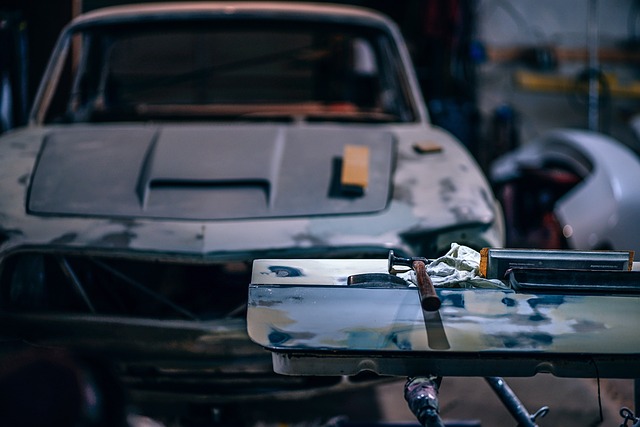
Tools and Materials for Effective Repair Techniques
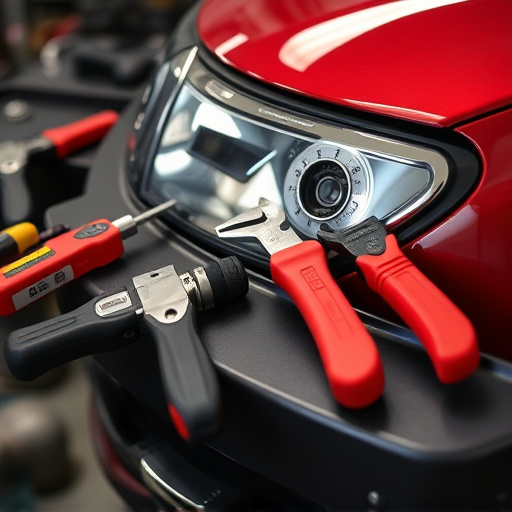
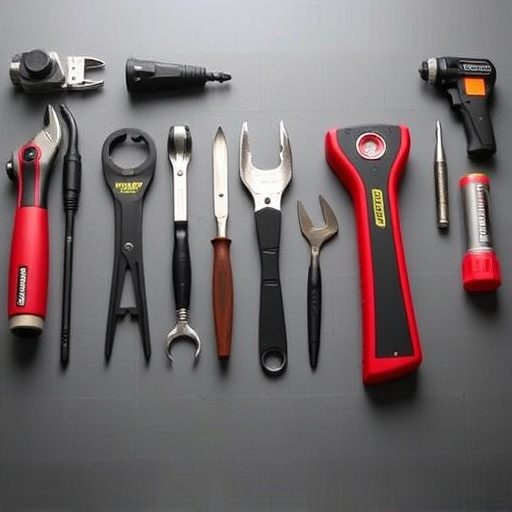
When it comes to Tesla vegan leather repair for Model S, 3, X, and Y vehicles, having the right tools and materials is essential for achieving effective results. For a successful repair, you’ll need specific instruments tailored for delicate leather work. These include fine-tipped scissors or knives designed for cutting and shaping leather without causing further damage, along with various grades of sandpaper to smoothen out imperfections. Specially formulated vegan leather adhesives and colorants are crucial, ensuring the repaired area seamlessly blends with the vehicle’s existing interior.
Additionally, a range of tools for application and finishing is necessary. This may include brushes, applicators, and blenders to evenly distribute the adhesive and colorant, creating a flawless finish. The right materials can make all the difference in concealing car scratch repair marks or even tire services wear and tear on your Tesla’s vegan leather upholstery. Effective techniques require precision and attention to detail, ensuring the repaired area looks as good as new.
Step-by-Step Guide to Restoring Your Model S, 3, X, Y Interior

Restoring your Tesla Model S, 3, X, or Y’s vegan leather interior is an achievable task with the right approach. Here’s a step-by-step guide to help you through the process, ensuring your car’s interior looks as good as new. Begin by gathering all necessary tools and materials, including a suitable Tesla vegan leather repair kit designed for your vehicle model. Before starting, ensure the surface is clean and free of dust or debris. Next, carefully inspect the damaged area, identifying any tears, punctures, or discolored patches. Using the provided templates or guidelines in your repair kit, mark out the affected area precisely. This step ensures accurate trimming and fitting during the restoration process.
Once marked, gently remove any loose fragments of leather using a scalpel or specialized tool from the kit. Take care not to tear surrounding material. With the damaged section isolated, it’s time for patching. Apply a thin layer of adhesive as per the manufacturer’s instructions, pressing the patch firmly into place. Allow adequate curing time before moving on. For best results, follow up with a precise trimming process using the provided cutting tools, ensuring a clean edge. Finally, utilize a suitable topcoat or dye to match your Tesla’s original vegan leather finish, blending seamlessly with the surrounding material.
Tesla vegan leather repairs for models S, 3, X, and Y are not only feasible but can also enhance your vehicle’s interior. By understanding the unique qualities of Tesla’s vegan leather and common issues, along with the right tools and materials, you can effectively restore and preserve your car’s trim. Following a detailed step-by-step guide tailored for these models, you’ll be able to achieve professional results, ensuring your Tesla’s interior looks as good as new. Master these techniques, and take pride in maintaining your vehicle’s aesthetic with eco-friendly solutions for Tesla vegan leather repair.